 Startup Delayer


Startup Delayer gives you the power to optimize your Startup Process by delaying applications from starting up as soon as you log into your computer.
By delaying the applications during start up, your computer becomes usable a lot faster. Startup Delayer will then start launching your delayed applications when your computer is more idle.
Download NowAutomatically launch applications when your computer CPU and Disk are Idle.
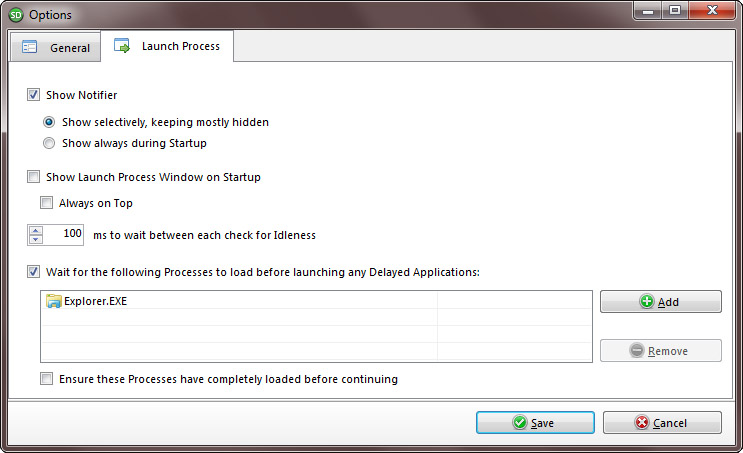
Startup Delayer will launch each application, in the order you’ve specified at the best time possible.
Launch on specific days, only if an internet connection is available, modify priority, force highest privileges and wait for user confirmation.
Startup Delayer allows you to modify various launch options and conditions for your applications, giving you even greater control over your launch process.
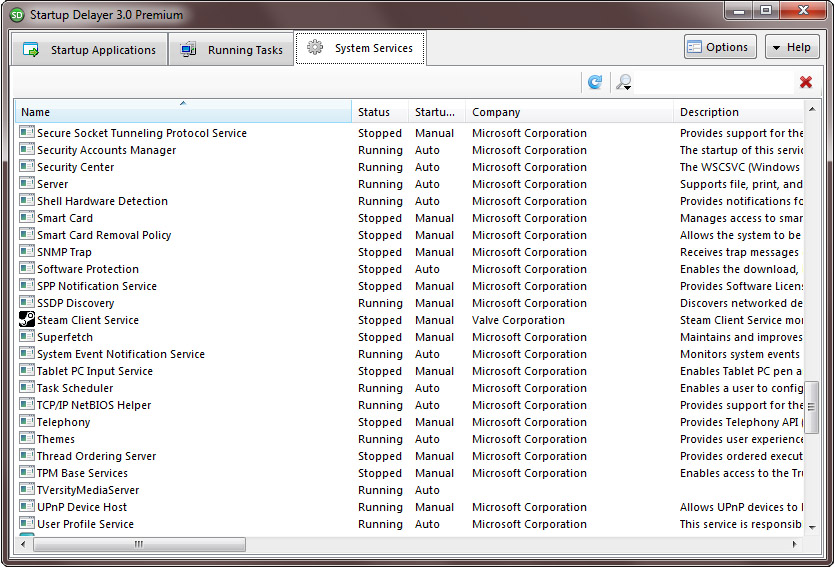
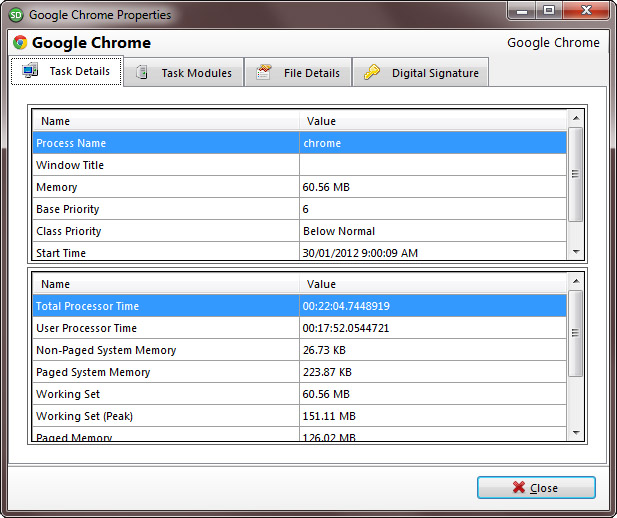
Keep an eye on running tasks and services from within Startup Delayer.
Running tasks can be quickly be added to your Startup or investigated on the web.
Services can be controlled and investigated.
Easily manage multiple configurations of Startup applications with ease. Startup Delayer allows you to create and manage sets of Applications which you can switch to when required.
For example you can create a Games Profile that launches very little and a Work Profile that launches everything ready for work.
Create Backups of your Startup Applications and restore them with ease. Backups are automatically created whenever you install a new version of Startup Delayer.
Backups contain all applications for all users on your computer.
Any applications that are deleted from within Startup Delayer can be restored by using the Manage Deleted Applications command.
This functions similar to the Windows Recycle Bin and allows you to restore accidentally deleted applications with the click of a button.
ginger tea remedies buy lunesta australia zero prescription glasses
acne herbal treatments buy valium australia circle lenses prescription
herbal alternative buy xanax australia herbal remedies coupon